

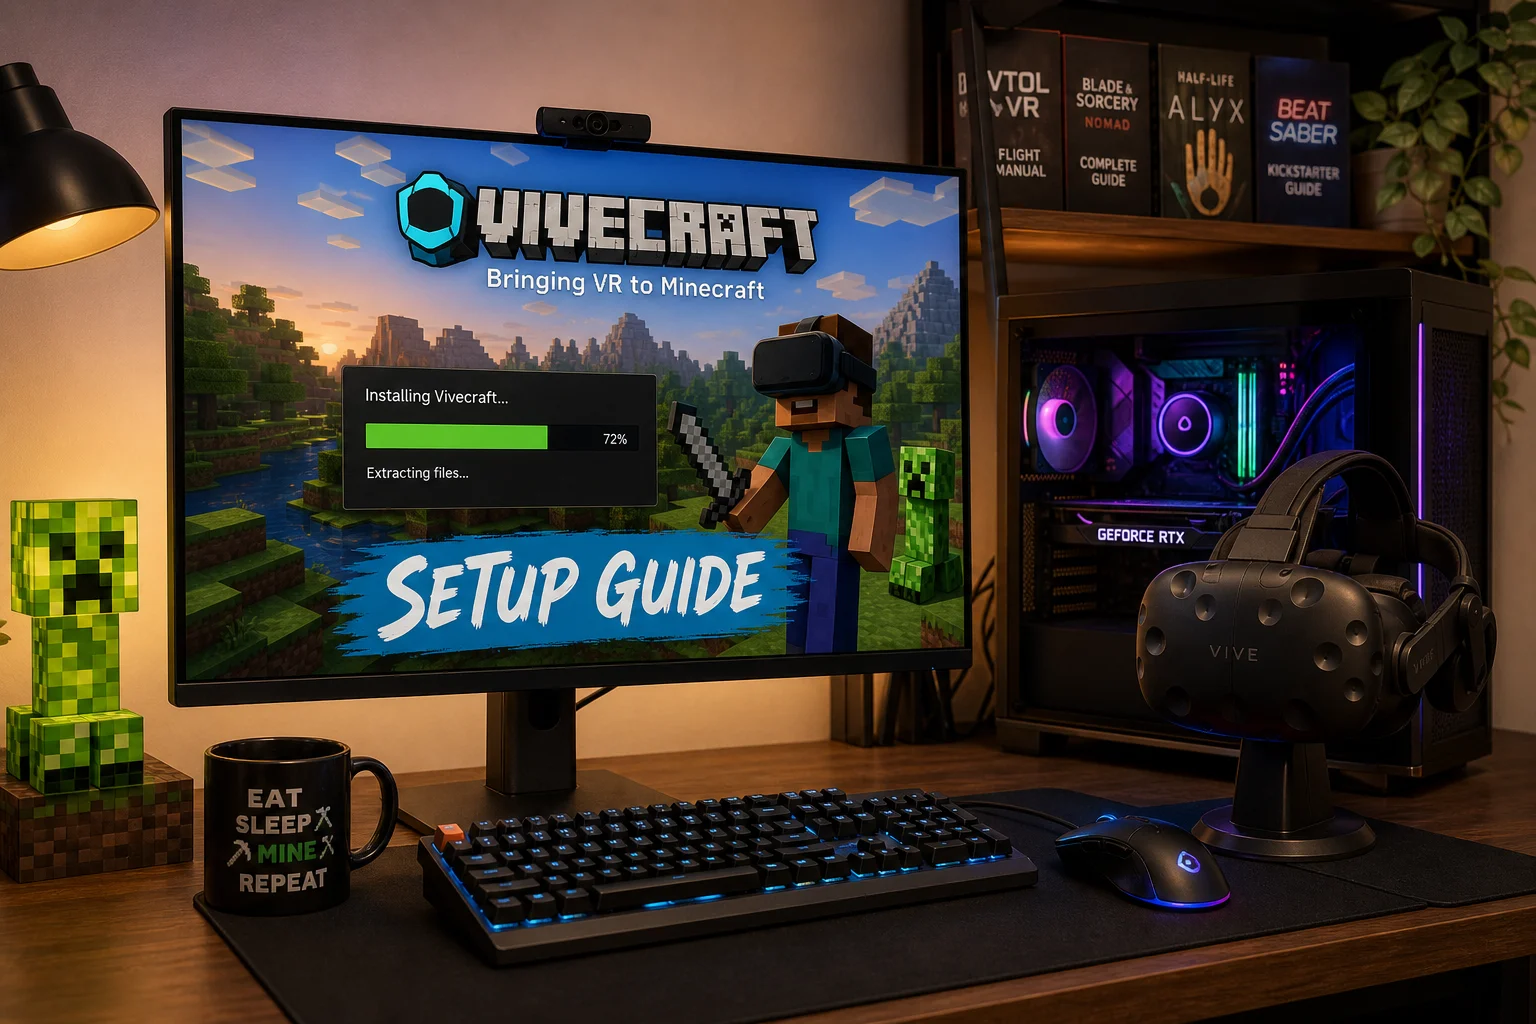
Introduction
What’s more annoying than putting on your headset, clicking an old Minecraft VR shortcut, and getting the regular flat game? In 2026, those shortcuts usually open standard Minecraft or do nothing useful. Minecraft no longer has a supported first-party VR mode.
The setup that works today uses Minecraft Java Edition, Vivecraft, Fabric, SteamVR, and a VR-ready Windows PC. There are several pieces, but they fit together neatly when every version matches. This guide takes you from a clean install to standing (or sitting) inside your first VR world.
What Is Vivecraft?
Vivecraft is a third-party mod that adds VR support to Minecraft Java Edition. It sends Minecraft to a compatible headset through SteamVR. You also get motion-controller support, VR menus, and several comfort settings.
- Room-scale play: Look and move around using your headset’s tracked play area.
- Seated play: Explore without standing or physically turning around.
- Motion controls: Use compatible VR controllers to interact with the world.
- SteamVR support: Connect headsets such as Valve Index, HTC Vive, HTC Vive Cosmos, and Rift S.
- Quest PC streaming: Play on Quest 2, Quest 3, or Quest Pro through a Windows PC.
Vivecraft doesn’t turn Bedrock Edition into a VR game. You need Minecraft Java Edition for the setup below.
What Happened to Official Minecraft VR?
Mojang announced the end of PlayStation VR support in September 2024. In October 2024, it extended that decision to Bedrock Edition on every VR device. Support ended in 2025.
Older guides may tell you to create a Windows shortcut containing this address:
That shortcut launched Bedrock’s former OpenXR mode. It’s now a leftover command, so rebuilding it won’t restore the removed VR feature (sadly, Windows shortcuts aren’t quite that magical).
There’s also no verified official standalone Minecraft release for Meta Quest in the suppliednd don’t use the supported PCVR route covered here. The original PlayStation VR path has also ended, and there’s no verified Minecraft VR2 release for PlayStation 5
Prerequisites
Nobody likes reaching Step 12 and discovering that one missing app has stopped the whole setup. Check this list before downloading any mods:
- A Windows 10 or Windows 11 PC capable of running PC VR
- A Microsoft account that owns Minecraft Java Edition
- The official Minecraft Launcher
- Minecraft Java Edition installed and opened at least once
- A supported Vivecraft release
- Fabric Loader and Fabric API for the same Minecraft version
- Steam and a Steam account
- SteamVR
- A SteamVR-compatible PC headset, or a Meta Quest headset connected to the PC
- A suitable USB-C cable for wired Quest Link, or a strong local network for wireless play
- The Meta Horizon mobile app for initial Quest setup, if using a Quest
- Enough clear space to use the headset safely
| Requirement | Details |
|---|---|
| Operating system | Windows 10 or Windows 11 |
| Minecraft edition | Java Edition |
| Mod loader | Fabric Loader |
| Required mods | Vivecraft and Fabric API |
| VR software | SteamVR |
| Native PC headsets | Valve Index, HTC Vive/Cosmos, Rift S, and other compatible SteamVR devices |
| Quest headsets | Quest 2, Quest 3, or Quest Pro using PC streaming |
| PlayStation VR | Not supported by this setup |
| macOS | No verified workflow in the supplied sources |
Important: Minecraft, Vivecraft, Fabric API, and the Fabric Loader profile must target the same Minecraft release. Treat the version numbers like matching puzzle pieces. One wrong piece can keep the game from starting.
Minecraft VR Setup 2026: Step-by-Step Guide
These steps use Fabric, a lightweight system that loads mods when Minecraft starts. Release filenames change over time, so you won’t be told to grab a fixed version number. Instead, choose one Minecraft version and match every component to it.
Step 1: Install Minecraft Java Edition
Download and install the official Minecraft Launcher from the Minecraft website or Microsoft Store.
Open Minecraft Launcher, then sign in with the Microsoft account that owns the game. Select Minecraft: Java Edition in the left sidebar. If you only see a purchase button, double-check the signed-in account.
Select Latest Release, then click Play. Wait for the game to reach its main menu.
Expected result: The unmodified Java Edition main menu appears without an installation error.
Step 2: Record the Minecraft Version You Will Use
Read the version number in the lower-left corner of Minecraft’s main menu. Write down every digit exactly. Close guesses don’t count here.
Select Quit Game, then close Minecraft Launcher as well.
Don’t leave either program running while installing Fabric or moving mod files. Closing them keeps the launcher from holding files open (a tiny step that can prevent a surprising amount of fuss).
Expected result: You have one tested Minecraft version written down, and Minecraft Launcher is closed.
Step 3: Download the Matching Vivecraft File
Open the official Vivecraft website in your browser. Follow its current download link and find the release that clearly supports the Minecraft version you recorded.
Choose the Fabric version when the site offers loader choices. Save the .jar file in your Downloads folder. Don’t open the JAR or unpack it like a ZIP file.
Expected result: File Explorer shows one Vivecraft .jar file in your Downloads folder, labeled for your chosen Minecraft version.
Warning: Get Vivecraft from its official website or the download destination linked there. Random mod mirrors aren’t worth playing malware roulette.
Step 4: Download Fabric API
Go to the official Fabric website and follow its link to Fabric API. Choose the Fabric API file made for the exact Minecraft version you selected.
Save its .jar file in Downloads. Leave this file intact too.
Fabric API contains shared tools that Fabric mods rely on. It doesn’t replace Fabric Loader, so you’ll need both components.
Expected result: Your Downloads folder contains a Vivecraft JAR and a Fabric API JAR for the same Minecraft release.
Step 5: Download the Fabric Installer
From fabricmc.net, open Use or Download, then download the Windows installer. The Windows executable is usually the easiest choice when the site also offers a universal JAR.
Open the downloaded Fabric Installer. If Windows shows a security prompt, verify that the file came from the official Fabric website before continuing.
Expected result: The Fabric Installer opens and displays fields for Minecraft Version, Loader Version, and Install Location.
Step 6: Install Fabric Loader
- Select the Client tab.
- Open Minecraft Version and select your recorded version.
- Leave Loader Version on the current compatible selection unless Vivecraft’s instructions request another one.
- Confirm that Install Location points to your normal Minecraft folder.
- Check Create Profile.
- Click Install.
For a standard launcher installation, the normal Windows Minecraft directory is:
To inspect that folder, press Windows key + R, enter this command, and click OK:
The installer should report that Fabric Loader was installed. If it doesn’t, recheck the Minecraft version and install location before trying again.
Expected result: Fabric Installer reports success and says that a Fabric profile was created.
Step 7: Find the Fabric Profile in Minecraft Launcher
Open Minecraft Launcher and select Minecraft: Java Edition. Click the Installations tab near the top.
Find an installation with a name similar to fabric-loader-[version]. If you can’t see it, enable the Modded filter near the top of the Installations screen.
Don’t click Play yet. There’s still some file shuffling to do.
Expected result: The fabric-loader installation appears and its version matches the Minecraft release you selected.
Step 8: Open the Fabric Installation Folder
Move the pointer over the fabric-loader installation. Click its folder icon if one appears. Otherwise, click the three-dot menu, select Edit, and use Browse or Open Installations Folder, depending on your launcher version.
File Explorer should open the game directory assigned to that profile. Using the launcher’s button is safer than guessing which .minecraft folder it uses. Windows folders can turn into a junk drawer after a few launcher installs.
Expected result: File Explorer opens the directory used by the fabric-loader profile.
Step 9: Create the Mods Folder
Inside the installation folder, look for a directory named mods. Create it if it’s missing:
- Right-click an empty part of the File Explorer window.
- Select New > Folder.
- Type the following name:
- Press
Enter.
Check that Windows didn’t call it mods.txt. It must be an ordinary folder named exactly mods.
Expected result: The Fabric installation directory contains a folder named mods.
Step 10: Copy Vivecraft and Fabric API into the Mods Folder
Open another File Explorer window and go to Downloads. Select the Vivecraft JAR and Fabric API JAR, then press Ctrl + C.
Return to the mods folder and press Ctrl + V.
Don’t copy the Fabric Installer into this folder, and don’t extract either mod. The folder should hold the two original .jar files.
Expected result: The mods folder contains both matching JAR files with .jar at the end of their names.
Step 11: Install Steam and SteamVR
Install Steam from its official website, open it, and sign in. Search for the following in Steam:
Open the SteamVR store page, select Install, choose an installation location, and wait for the download to finish.
SteamVR is the bridge between Vivecraft and your headset. Minecraft and the mod can’t reach the VR hardware by themselves.
Expected result: Steam lists SteamVR as installed in your Library.
Step 12: Connect a Native PC VR Headset
If you have a Valve Index, HTC Vive, Vive Cosmos, Rift S, or another SteamVR-compatible PC headset, connect its cables and power adapters.
Start the headset maker’s software if your model requires it. A Rift S, for example, normally needs Meta’s PC software running before SteamVR can reach it.
Complete the manufacturer’s normal room setup if SteamVR requests it. Keep both controllers turned on and visible to their tracking system.
Expected result: Windows recognizes the headset and its manufacturer’s software reports that it’s connected.
Headset note: Valve Index and HTC Vive connect directly to the PCVR setup. You don’t need Quest Link, Air Link, or Virtual Desktop for these headsets.
Step 13: Start SteamVR and Check Headset Status
Find the Steam icon in the notification area at the right end of the Windows taskbar. You may need to click the up arrow first.
Right-click the Steam icon and select SteamVR or Start SteamVR. You can also open it through your Steam Library.
Wait for the SteamVR status window. It should show active icons for the headset and connected controllers, without search animations or error symbols.
Expected result: SteamVR shows the headset and controllers as ready.
Step 14: Launch the Fabric Profile
Leave SteamVR running. Return to Minecraft Launcher and open Minecraft: Java Edition.
Use the profile selector beside the green Play button to choose fabric-loader-[version]. Check the displayed Minecraft version one more time, then click Play.
The launcher may warn that it can’t guarantee support for a modified installation. That’s normal for a Fabric profile. Read the warning, confirm that you chose your own installation, and continue.
Expected result: Minecraft starts through the fabric-loader profile without crashing.
Step 15: Enable Vivecraft VR
At the Minecraft menu, find Vivecraft’s VR control or settings entry. Its exact location can move between releases.
Select the VR control if the game didn’t enter VR automatically. Put on the headset and use a controller to point at the menu.
Create a new test world in Creative mode before opening a valuable save. It’s a safe place to check movement, controller buttons, player height, and performance without risking your favorite build.
Expected result: The Minecraft menu and test world appear inside the headset, and the motion controllers can operate the VR pointer.
Set Up Minecraft VR on Meta Quest
Quest 2, Quest 3, and Quest Pro don’t run this Vivecraft installation on the headset itself. Your Windows PC runs Minecraft and streams the PCVR image to the Quest. You still need a VR-capable computer.
Step 16: Complete the Quest’s Normal Setup
Use Meta’s official Quest setup page to install the Meta Horizon mobile app and finish the headset’s standard setup. Pair the controllers, connect the Quest to Wi-Fi, and install any headset updates.
Skip old guides that use retired Oculus app names unless you’ve checked Meta’s current setup page. App names have changed enough to make old screenshots rather confusing.
Expected result: The Quest reaches its normal home environment and both controllers work.
Step 17: Install Meta Quest Link on Windows
On the Windows PC with Minecraft and SteamVR, download the Meta Quest Link app from Meta’s setup page.
Run the installer, complete the standard setup, and sign in when asked. You don’t need developer settings or ADB commands for Vivecraft over Link or Air Link.
Expected result: The Meta Quest Link desktop app opens and displays its main device area.
Step 18: Choose Quest Link, Air Link, or Virtual Desktop
- Quest Link: Uses a suitable USB-C cable. It’s my first pick for troubleshooting because Wi-Fi is removed from the equation.
- Air Link: Meta’s official wireless option. You lose the cable, but performance depends heavily on your router and local network.
- Virtual Desktop: A third-party wireless option. It requires the Quest app and its companion Windows streamer.
A basic USB-C charging cable may connect but still perform poorly. For longer sessions, use a suitable USB-C Link cable with enough length and data bandwidth.
Expected result: You’ve selected one connection method and installed any software it needs.
Step 19: Connect with a USB-C Quest Link Cable
For wired play, connect the Quest to a suitable USB 3 port on the PC with your USB-C Link cable.
Put on the headset. Open the Quest’s quick settings or connection panel, select Quest Link, choose the listed PC, and start the connection. Meta sometimes moves interface controls around, so find the current Link option instead of hunting for an old Oculus logo.
In the Windows Meta Quest Link app, open the stable device or headset area. Confirm that the Quest appears as connected.
Expected result: The headset enters Meta’s PCVR environment and the desktop app reports a connected Quest.
Step 20: Connect with Air Link
For wireless play, connect the Quest and PC through the same local network. Connect the Windows PC to the router with a Cat6 Ethernet cable whenever possible. The headset should have a strong 5 GHz or Wi-Fi 6 connection near the router.
Open the Meta Quest Link app on the PC. Put on the headset, open its quick settings or Link panel, choose the PC, and start the Air Link session.
Walls and floors can block wireless VR signals like nobody’s business. Run the first test in the same room as the router.
Expected result: The Quest displays the PCVR environment without a USB cable.
Step 21: Connect with Virtual Desktop
Install Virtual Desktop from its current Meta store listing on the Quest. Then install the matching Virtual Desktop Streamer app from the developer’s official website on your Windows PC.
Open the streamer in Windows and complete its requested account or device settings. Start Virtual Desktop inside the Quest, then choose the PC from the available computers.
Keep the PC on Ethernet if you can. Virtual Desktop can work very well, but it can’t magically repair weak or crowded Wi-Fi.
Expected result: Virtual Desktop connects to the Windows PC and displays the PC desktop inside the headset.
Step 22: Launch SteamVR and Vivecraft on Quest
Once the Quest shows the PCVR environment, launch SteamVR. Check that it detects the Quest headset and both controllers.
On the PC, open Minecraft Launcher, choose the matching fabric-loader profile, and click Play. Select Vivecraft’s VR control if needed.
Expected result: Minecraft appears inside the Quest and accepts input from the Quest controllers.
Configuration: Comfort and Performance Settings
Don’t push every setting to maximum during the first launch. VR draws a separate view for each eye, so graphics settings that behave nicely on a monitor can become a stuttering mess in a headset.
Choose Seated or Room-Scale Play
Open Vivecraft’s settings from the Minecraft menu. Find the option for Seated or Room-Scale play.
- Seated mode: Best for new players, small spaces, and longer building sessions.
- Room-scale mode: Best when you want physical movement and have a properly cleared play area.
Use your headset platform’s recenter control if the menu appears behind you or your virtual height feels wrong. VR menus occasionally seem convinced you’re standing somewhere else.
Lower Minecraft’s Render Distance
Open Options > Video Settings, then reduce Render Distance. Start around 8 to 12 chunks and test the game in a busy area.
Render distance controls how much terrain Minecraft draws around you. Lowering it is usually the quickest way to improve performance.
Raise the setting one step at a time. Stop when head movement no longer feels smooth and steady, then move back one step.
Be Careful with Shaders
Shaders add realistic lighting, shadows, and reflections. They can look lovely on a monitor and run terribly in VR.
Start with shaders disabled. Once the game feels smooth, test a lightweight shader made for better performance. Turn it off again if the frame rate drops, the image tears, or head movement feels delayed.
A stable basic picture is far more comfortable than beautiful lighting that moves like a slideshow. I’d pick smooth turning over fancy water every time.
Tune SteamVR Render Resolution
Open the SteamVR menu and select Settings > Video. Find Render Resolution or Minecraft’s per-application video settings.
If Minecraft stutters, lower the resolution in small steps and test again. Change one option at a time so you can tell what actually worked.
Higher resolution makes text and distant blocks sharper, but it gives your graphics card more work. Think of it like printing two huge posters dozens of times each second.
Choose a Stable Refresh Rate
Your headset software may offer refresh rates such as 72 Hz, 80 Hz, 90 Hz, or higher. A higher rate can feel smoother, but the PC must create frames fast enough to match it.
Begin with the default or another conservative rate. Increase it only after the game runs smoothly. If a Quest 3 tears or stutters at 80 Hz or 90 Hz, test 72 Hz with conservative SteamVR resolution settings.
Reports connecting this behavior to a March 2026 firmware update come from the community, not a confirmed Meta diagnosis. Treat any workaround as something to test, not a guaranteed cure.
Adjust Movement for Comfort
In Vivecraft’s comfort or locomotion settings, look for turning and movement options.
- Snap turning: Rotates your view in fixed steps and is often easier on the stomach.
- Smooth turning: Feels natural to some players but can cause nausea sooner.
- Teleport movement: Can feel better than continuous walking when it’s available.
- Seated play: Reduces the physical effort and confusion caused by mixing real and virtual movement.
Keep your first sessions to 10 or 15 minutes. Stop when you feel warm, dizzy, queasy, or develop a headache. Trying to “push through” VR sickness usually ruins the next hour too.
Tips and Troubleshooting
The Old Bedrock VR Shortcut Does Not Work
Problem: The Windows Bedrock OpenXR shortcut opens flat Minecraft or does nothing.
- Stop reinstalling Bedrock or rebuilding the shortcut.
- Confirm that you own Minecraft Java Edition.
- Install Vivecraft, Fabric, and SteamVR using the process above.
- Launch the fabric-loader profile instead of Bedrock.
Mojang ended supported Bedrock VR. The September and October 2024 announcements led to support ending in 2025, so the old shortcut isn’t a supported fix in 2026.
The VR Control Is Missing
Problem: Minecraft launches, but no Vivecraft VR control appears.
- Close Minecraft.
- Open Minecraft Launcher and select Installations.
- Confirm that the Modded filter is enabled.
- Find the correct fabric-loader profile.
- Open that profile’s installation folder.
- Open
mods. - Confirm that both the Vivecraft and Fabric API JAR files are present.
- Check that both files match the profile’s Minecraft version.
- Relaunch the fabric-loader profile.
If you selected Latest Release, you opened ordinary Minecraft instead of the modded installation. That’s an easy mistake because the big green Play button is always sitting there, looking helpful.
Minecraft Crashes During Startup
Problem: Minecraft closes or shows an error after you add the mods.
- Note the Minecraft version displayed by the fabric-loader profile.
- Read the version listed in the Vivecraft filename or download page.
- Read the supported Minecraft version listed for Fabric API.
- Reopen Fabric Installer and check its selected Minecraft version.
- Remove only the mismatched JAR from the
modsfolder. - Download the correct matching release.
- Launch the profile again.
Version mismatches cause this problem more often than anything else. A mod made for one Minecraft release generally won’t behave when dropped into another.
If the crash continues, temporarily move any other mod JARs out of mods. Test with only Vivecraft and Fabric API. Add the remaining mods back one at a time until the troublesome one shows itself.
Minecraft Opens Only on the Monitor
Problem: The game launches as a flat window instead of appearing in the headset.
- Close Minecraft completely.
- Start the headset manufacturer’s connection software.
- Connect the headset and controllers.
- Launch SteamVR.
- Wait until SteamVR shows the headset as detected.
- Launch the fabric-loader profile.
- Select Vivecraft’s VR control.
For Quest, enter your Link, Air Link, or Virtual Desktop PCVR session before starting SteamVR. The order matters here because each app needs to see the next link in the chain.
VR Controllers Are Missing
Problem: Minecraft appears in the headset, but the motion controllers don’t work.
- Close Minecraft.
- Wake both controllers and check their batteries.
- Confirm that SteamVR shows both controller icons as active.
- Restart SteamVR.
- Reopen the fabric-loader profile.
- Check Vivecraft’s controller-binding or input settings.
- Restore Vivecraft’s default bindings if a custom SteamVR binding is broken.
Also make sure the Minecraft window is active in Windows. Click it once with the mouse if the controller buttons seem to be ignored. Yes, focus can matter even when the game is covering your entire field of view.
Air Link or Virtual Desktop Stutters
Problem: Head movement lags, the picture breaks into blocks, or the stream pauses.
- Connect the PC to the router using a Cat6 Ethernet cable.
- Connect the Quest to a 5 GHz or Wi-Fi 6 network.
- Play close to the router.
- Pause large downloads and video streams on the local network.
- Lower Minecraft’s render distance.
- Lower SteamVR’s render resolution.
- Test a conservative headset refresh rate.
- Compare Air Link with Virtual Desktop.
- Use wired Quest Link if wireless performance remains unstable.
Public Wi-Fi sucks for wireless VR. Mesh networks can also add delay when the headset connects through a distant node. Try the room with the primary router or a wired access point if you use mesh Wi-Fi.
Frames Tear or Drop in Large Areas
Problem: Performance gets worse when looking across forests, villages, or distant terrain.
- Open Options > Video Settings.
- Lower Render Distance by two to four chunks.
- Disable shaders.
- Reduce expensive graphics effects.
- Open SteamVR’s video settings.
- Lower render resolution in small steps.
- Restart the test world and compare the same location.
Use a frame-rate or performance overlay only if you’re comfortable reading it. Your eyes are a perfectly good first test: head movement should feel immediate and steady.
Minecraft Crashes Only with Shaders Enabled
Problem: Vivecraft works until a shader pack is turned on.
- Disable the shader.
- Restart Minecraft.
- Test the same world using Minecraft’s standard graphics.
- If it’s smooth, try a lighter shader pack.
- Keep render distance modest while testing.
- Remove the shader if discomfort or stuttering returns.
Shaders are optional. In VR, I’d take smooth movement over fancy water reflections every single time.
Quest Link Connects and Disconnects
Problem: A wired Quest repeatedly drops back to its normal home screen.
- Reconnect the USB-C cable at both ends.
- Try another USB 3 port on the PC.
- Avoid an unpowered USB hub.
- Test a known data-capable USB-C Link cable.
- Restart the Meta Quest Link app.
- Restart the headset.
- Start the Link session before opening SteamVR.
Front-panel ports and cheap cables sometimes cause unstable connections. A powered USB-C hub can help with some desks, but connect directly to the PC first. That test quickly rules out the hub.
The Player Feels Dizzy or Nauseated
Problem: Walking or turning in Minecraft becomes uncomfortable.
- Stop the session immediately.
- Sit down and rest until every symptom is gone.
- Switch Vivecraft to seated play.
- Enable snap turning or another comfort-friendly turn option.
- Disable shaders and lower settings to stabilize performance.
- Try a short 10-minute session another day.
- Extend sessions slowly only when you remain comfortable.
Minecraft VR can become comfortable for a full session after some adjustment, but that doesn’t happen for everyone. Building while seated is usually gentler than sprinting through caves with smooth turning. A small fan aimed toward you can also give your brain a handy real-world direction cue.
Can I Play Vivecraft Without a PC?
You can’t use this setup without a PC. Quest Link, Air Link, and Virtual Desktop all stream Vivecraft from a Windows computer.
There’s no verified official native Quest release in the suppliedt’s documented PCVR setup and shouldn’t be confused with an official Minecraft product
Does Vivecraft Work on Valve Index or HTC Vive?
Yes. Vivecraft works through SteamVR with compatible native PC headsets such as Valve Index, HTC Vive, and Vive Cosmos. Connect the headset, start any required manufacturer software, open SteamVR, and then launch the Fabric profile.
Rift S can also use SteamVR, though Meta’s Windows software normally needs to run first. Other SteamVR-compatible devices may work. Check the current Vivecraft and headset documentation before buying hardware for a specific model.
Does Minecraft VR Work on PlayStation VR2?
There’s no verified, supported Minecraft VR2 path in the suppliedation VR, while those older instructions don’t apply to PS VR2
For a supported PlayStation experience, play regular non-VR Minecraft. Vivecraft requires Minecraft Java Edition on a compatible Windows PC with SteamVR hardware.
Can I Set Up Vivecraft on macOS?
This walkthrough doesn’t include a macOS procedure. The verified setup depends on Windows PCVR software, and Meta Quest Link is part of that Windows chain.
Installing Java Edition and copying the same JAR files onto a Mac doesn’t confirm a working VR setup. The suppliednnection chain on macOS
Quick Setup Tips
- Keep a Clean Profile: Use a separate Fabric installation for Vivecraft instead of throwing every Minecraft mod into one folder.
- Back Up Important Worlds: Copy valuable saves before opening them with a new Minecraft or mod version.
- Change One Setting at a Time: You’ll have a much easier time finding what fixed or broke performance.
- Start Wired on Quest: A USB-C Link cable separates Minecraft trouble from Wi-Fi trouble.
- Favor Smoothness: Lower render distance and resolution before raising the headset refresh rate.
- Clear the Room: Punching a real bookshelf while mining a virtual block is memorable, but it’s a poor troubleshooting method.
- Update Carefully: Check that matching Vivecraft and Fabric API releases exist before upgrading Minecraft.
- Keep Sessions Short at First: VR comfort improves for many players, but forcing it is a reliable way to feel worse.
Wrapping Up
| Step | Action | Applies To |
|---|---|---|
| 1 | Install and test Minecraft Java Edition | Everyone |
| 2 | Match Minecraft, Vivecraft, Fabric API, and Fabric Loader versions | Everyone |
| 3 | Copy Vivecraft and Fabric API into the correct mods folder |
Everyone |
| 4 | Install and start SteamVR | Everyone |
| 5 | Connect the headset directly or through PC streaming | All headsets |
| 6 | Launch the fabric-loader profile and enable VR | Everyone |
| 7 | Tune comfort, render distance, resolution, and refresh rate | Everyone |
| 8 | Use Link, Air Link, or Virtual Desktop | Quest users only |
Vivecraft is the most practical route for playing Minecraft Java Edition in VR during 2026. Keep every version matched, start SteamVR before Minecraft, and test with a fresh Creative world first. Those three habits prevent a lot of head-scratching.
My take? Exploring and building in VR can feel fantastic, but smooth movement matters far more than shaders or maximum resolution. Start with modest settings and short sessions. Once everything feels steady, you can raise the eye candy one setting at a time.
