


Sony’s current-gen console remains a popular choice for living-room gaming; the company prides itself on a AAA library of action-packed, emotionally engaging cinematic titles. So it’s no surprise that the PlayStation 5 is a versatile gaming machine that both children and adults can enjoy.
But did you know that to get the most out of this Sony console, you need to enable a few settings to unlock hidden features on your PlayStation 5? For example, your DualSense controller won’t charge even when plugged in while your console is in rest mode because you need to change the default behavior in the Features Available in Rest Mode settings. Another example is during in-console use: you’ll want to toggle between performance mode and graphics mode depending on the game you’re playing. The potential to get the most out of your PlayStation 5 is vast, but if you’re an optimal gamer, you won’t want to waste time with the default settings that hide some of these game-changing features.
Charging your DualSense controller on your console in rest mode
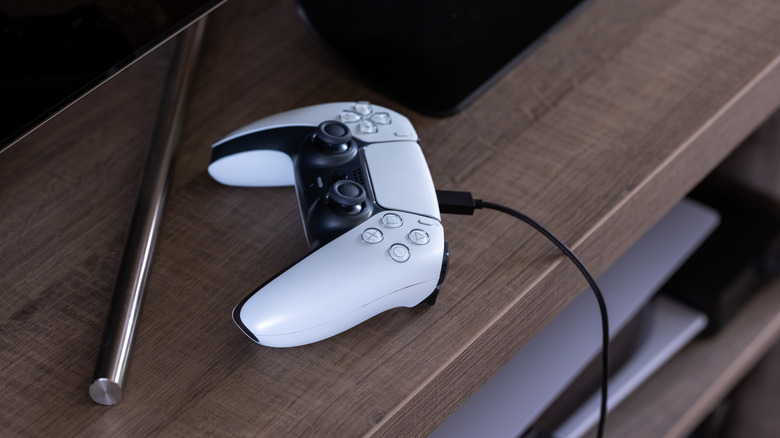
When you place your PlayStation 5 in rest mode, you can charge your controller. Unfortunately, this does not happen by default unless you enable it. To do this, go to your console settings, select System and Power Saving, then choose Features Available in Rest Mode. From there, select Supply Power to USB Ports and choose Always. Once enabled, plug your controller into your console with a USB-C cable, then put your PlayStation 5 into Rest Mode in your power options.
If successful, the light bar on your gamepad should glow a darker yellow or amber color, indicating it’s charging. This is an efficient way to charge your PlayStation 5 controller because it puts the console in a low-power mode, but it may take a few hours to charge fully. So if you set it to 3 hours instead of Always, it should still be enough time for the DualSense controller to be ready for your next gaming session.
Using PlayStation 5’s Power Saver for supported games

PlayStation 5’s Power Saver mode is relatively new, having been released in a 2025 update. Only certain games can make use of this feature; you’ll be able to tell which ones by the leaf symbol with a lightning bolt next to your game’s title. When you turn it on, it significantly lowers the power draw for supported titles. It does this by throttling the CPU/GPU and memory bandwidth.
Normally, the console can draw around 200 to 300 watts, but in Power Saver mode, it drops to 90 to 110 watts. Using it reduces frame rate and graphics fidelity. It does, however, help save money on your electricity bill, and not all games need to run at 4K/60 FPS to be enjoyable. This isn’t a mode you can turn on automatically; you need to do it in your System settings. Open the console settings, navigate to System > Power Saving, then choose Power Saver for Games. Toggle on Use Power Saver mode.
Adding a new default install location for games and apps
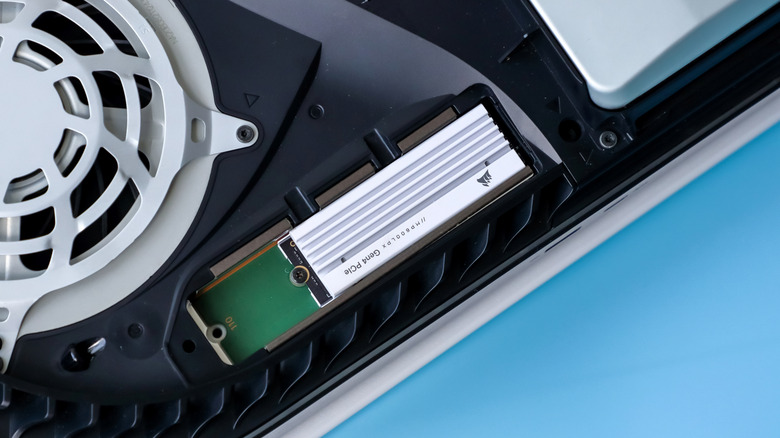
If you bought a compatible SSD as a cheap way to upgrade your PlayStation 5 console, you’ll want to change the default install location to your SSD. You can do this for both your PlayStation 5 and PlayStation 4 titles. Go to your console settings, select Storage, choose Installation Location, then select PS5 Games and Apps. From there, change Console Storage to the name of your extended storage (it should be M.2 SSD Storage) by selecting it in the drop-down menu.
You can do the same for your PlayStation 4 games by choosing PS4 Games and Apps below it, but note that if you have USB Extended Storage, you can use that instead as your default location — this would save precious space on your SSD drives, keeping it reserved for your PlayStation 5 titles — and you can use that to play your titles directly from it (unlike your PlayStation 5 games that can only be used to store).
Change your connection method to LAN Cable
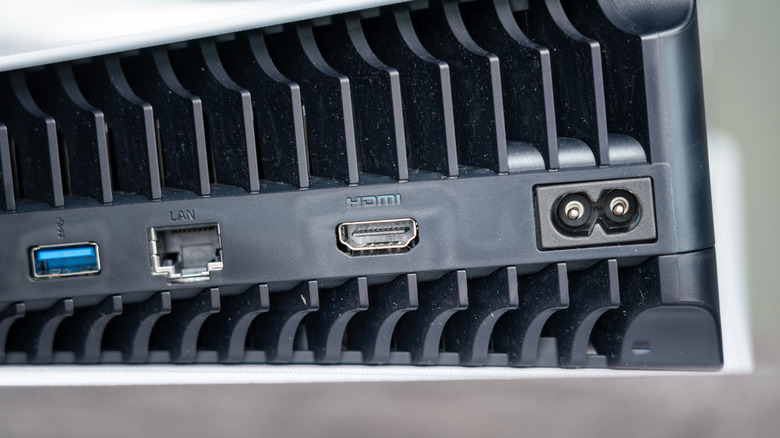
If you initially set up your PlayStation 5 on Wi-Fi, it will default to that connection type. When you set up an Ethernet cable, make sure the console defaults to that connection type instead of your first method, Wi-Fi. You can do this in your Network settings. Open the console settings, navigate to Network, then scroll down to Settings and choose Set Up Internet Connection. If you don’t find Wired LAN 1 under the Registered networks header, look for Set Up Wired LAN under the Networks found header. If the wired LAN connection still doesn’t show up, scroll to the bottom and choose Set Up Manually > Use a LAN cable.
Once registered and connected, your wired LAN should be the default network type (it will say Connected under Registered networks next to the name). You can also press the Options button on your controller next to the registered Wi-Fi network and select Forget to remove it.
